seating chart
How to Make a Wedding Seating Chart (Step by Step)
How to Make a Wedding Seating Chart (Step by Step)
"I will figure out the seating chart later" is not a plan. It is a source of 11 PM stress the week before your wedding.
Here is the actual process — calm, sequential, and manageable when you break it into steps. Making your wedding seating chart does not have to take over your life. It just needs to happen in the right order.
Step 1 — Wait Until RSVPs Are Closed
Do not start assigning seats until your guest list is final.
This sounds obvious. Most brides ignore it anyway, because the seating chart feels like something that should be done early. The problem: every assignment you make before RSVPs close is provisional. When three people decline in the final week and two add a plus-one at the last minute, you are rebuilding sections of the chart from scratch.
Set your RSVP deadline at least three weeks before the wedding. Give yourself one to two weeks after that deadline to finalize assignments. That leaves a week of buffer before your printing deadline — enough time to handle the stragglers and last-minute changes without panic.
Your action: Do not open a seating chart tool or template until your RSVP date has passed and you have confirmed every response.
Step 2 — Get the Floor Plan From Your Venue
Before you assign a single name to a table, you need to know what you are working with.
Ask your venue coordinator for the reception floor plan. You want to know:
- How many tables, and what shape (round, long, rectangular)
- How many guests each table seats comfortably — not maximum capacity, comfortable capacity
- Where the head table, dance floor, bar, and speakers are positioned
- Where the entrances and exits are
Draw a rough sketch of the room, or use a simple digital floor planning tool. This becomes the map you work from. It also helps you make decisions you would not make from a spreadsheet alone — like keeping elderly relatives near the entrance instead of across the room from it, or placing the couple's most social friends near the dance floor.
Step 3 — Group Guests Before You Assign Tables
This is the step most brides skip, and it is the one that saves the most time.
Before assigning anyone to a specific table, group your guests by relationship. Work through the list and sort every name into a cluster:
- Immediate family — each side separately
- Extended family — each side
- College friends
- Childhood or hometown friends
- Work colleagues
- Neighbors, community connections
- Anyone who does not fit cleanly elsewhere (the wild card group)
Once you have your clusters, you assign the cluster to a table — not individual names to tables. Fill each table with a complete group where possible. Mixed tables work fine when groups are small or awkward in size. Just avoid splitting six close friends across three different tables because the math was easier that way.
Step 4 — Assign Tables, Not Seats (Usually)
For most receptions, assigning tables is enough. Guests find their table on the seating chart board, sit down, and arrange themselves naturally within the group.
Assigning specific seats within a table adds coordination complexity — place cards at every chair, specific arrangements to manage — and rarely benefits the guest experience enough to justify the extra work. Save individual seat assignments for the head table, where the arrangement actually matters for photos and toasts.
The exception: formal plated dinners with multiple entrée choices, where the caterer needs to know exactly who ordered what. In that case, individual seat assignments with a meal indicator on the place card simplifies service.
Step 5 — Review for Uncomfortable Pairings
Once your tables are drafted, walk through each one with real eyes — not just names and numbers.
The questions to ask:
- Are the divorced parents at separate tables, each surrounded by people who support them?
- Is there an ex situation, a family conflict, or a work dynamic that makes a particular table awkward?
- Are elderly guests positioned away from speakers and near an exit?
- Are families with young children near an exit so leaving quietly is possible?
- Are the most social, energetic guests close to the dance floor?
This review takes 20 minutes and prevents the situations that become stories at the wrong kind of dinner party later.
Step 6 — Choose a Tool That Makes Changes Easy
Your assignments will change at least once after you think they are final. Someone's plus-one RSVPs late. A family member has a conflict you did not know about. A table count shifts.
For a seating chart for a wedding that is still in motion, a drag-and-drop digital tool is more practical than a static template. Our free seating chart tool lets you build the room layout, drop guests into tables, and move them around as things change — without reformatting a spreadsheet or redesigning a Canva file every time.
When your assignments are locked, export the finalized, alphabetical guest list directly from the tool and hand it off to your printer or designer.
If your guest count is under 60 and your list is stable, a Google Sheets template with columns for last name, first name, and table number is completely adequate. Simple works fine when the situation is simple.
Step 7 — Export and Order Your Display
Once assignments are final — genuinely final, not "close enough" — it is time to order the physical display.
Decide on your format:
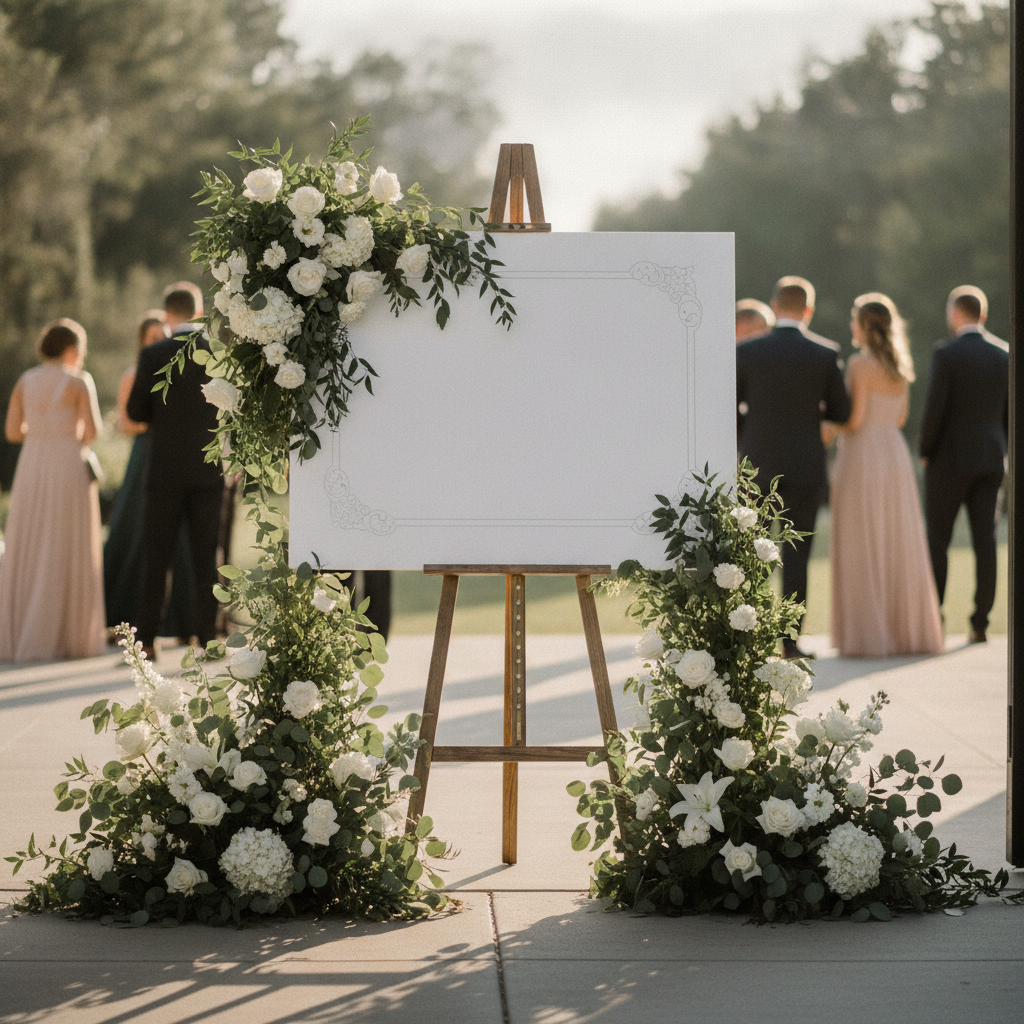
- Foam board on an easel: practical, lightweight, easy to transport, customizable. The most popular option. Howard Wedding Rentals prints custom foam boards sized to your guest list.
- Framed poster print: classic and clean. Print on quality paper, frame it, set it on an easel.
- Mirror with vinyl lettering: glamorous and photogenic. Heavy — confirm your venue has a surface to lean it against.
Order at least two weeks before the wedding, even if you think you have the timing handled. Print timelines exist, and the week before your wedding is not when you want to be chasing a vendor.
The Free Seating Chart Tool Worth Knowing About
If you are looking for a seating chart creator that handles the planning and the export in one place, the free tool at Howard Wedding Rentals is worth using.
You build your table layout, drag guests in, adjust as needed, and export a clean alphabetical list when you are ready. No account required. No learning curve. And because it is built specifically for wedding receptions — not classroom seating or conference rooms — the defaults actually make sense for your situation.
It is the step between "I have everyone's RSVP" and "I have a file ready to send to the printer."
FAQ
How long does making a wedding seating chart actually take? For a wedding of 100–150 guests, budget three to four hours total — spread over two or three sittings, not all at once. The first pass (grouping and assigning) takes the longest. Subsequent reviews and adjustments go faster. Using a drag-and-drop tool shaves significant time off the whole process.
What if someone RSVPs after the deadline? Add them. It happens. Leave two or three "buffer" seats distributed across tables when you do the initial assignments — not a full empty table, just a seat or two of breathing room. That way a late addition can be absorbed without a cascade of reassignments.
Should I assign individual seats or just tables? Just tables, for almost every reception. Individual seat assignments make sense only when you have a specific reason — plated entrée tracking, formal place card protocol, or a head table where the arrangement matters. For general guest seating, assigning tables is enough and far easier to manage.
What is the difference between a seating chart and escort cards? A seating chart board at the entrance lists all guests and their table number in one place — guests scan the list, find their name, and go. Escort cards are individual cards guests pick up at a display table and carry to their seat. Both accomplish the same goal. The board is simpler to produce; escort cards are more personal and can double as a take-home keepsake.
Making a seating chart for your wedding is not complicated. It just requires doing things in order: close RSVPs, get the floor plan, group your guests, assign tables, review, lock in, and print.
Start with the free seating chart tool — it handles the organizing so you can focus on the decisions that actually require your judgment. When you are ready for the printed display, our shop has custom foam boards that arrive ready to set up. Questions welcome at any point.